So by now we have hired the builders, achieved full structural design, drawings in hand and planning permission granted (twice – because of an adjustment to Poppy’s disabled access door). We now knew the existing structure/foundations were good to build on too.
In this update:
Garage clearance
Shed installation
Loft boarding
Scaffolding installation
Preparing for a wheelchair-accessible extension for our disabled daughter.
It was time for things to finally begin.
Part one is HERE if you want to catch up, and if you’re receiving this via email but want to see the web version for better images click HERE.
Like any good building project, a lot of preparation was required to get this thing off the ground and moving.
Emptying the garage first required creating more storage for some of those things to go. We needed a shed, and fortunately my parents came to the rescue with the gift of a shed for Christmas! Unfortunately, a shed was just the beginning of things to come.
Next came loft boarding. Lots of loft boarding.
I bought hundreds of loft legs and enough OSB boards to make me briefly wonder if I was constructing an attic, or opening my own small friendly local timber merchant.
Then came the skip.
Then the scaffolding.
Then another invoice.
Then another.
At this point, money had started leaving my bank account with such enthusiasm that I considered reporting it missing.
This was only just the beginning…
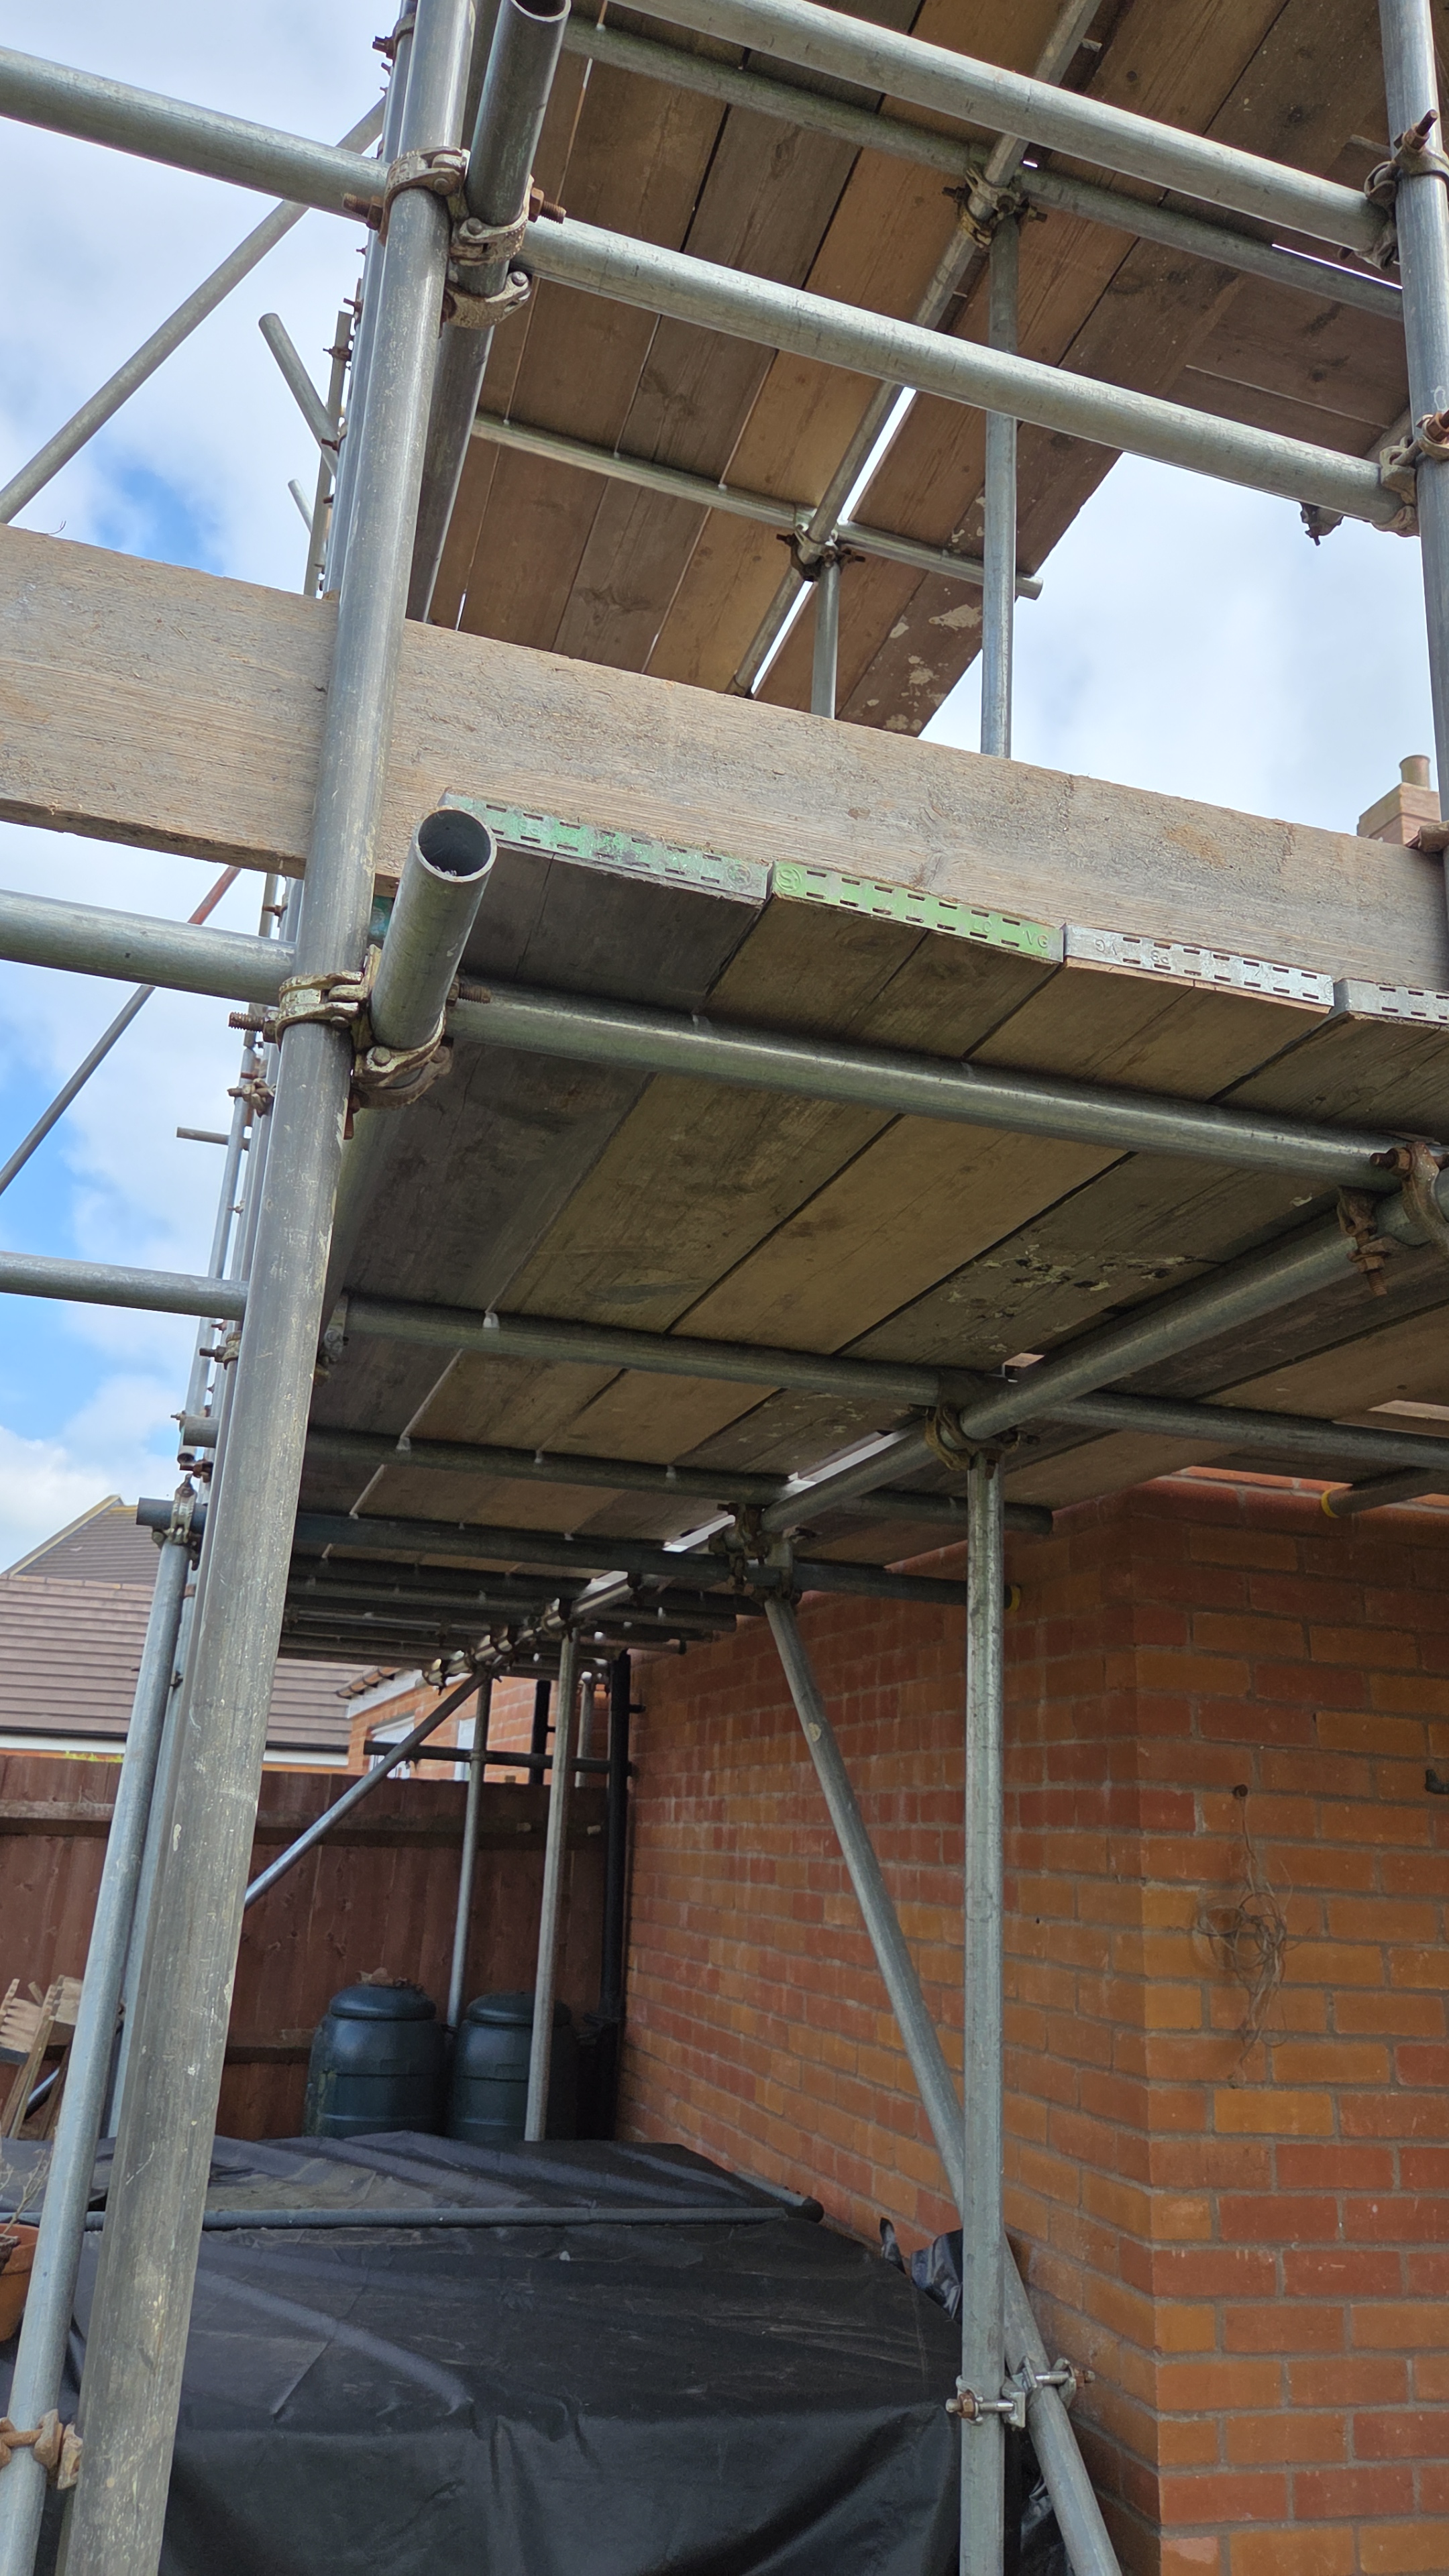
The scaffolding alone was a thing of beauty. Or horror. Depending on whether you were paying for it. To me, it looked less like preparations for a home extension and more like we were constructing a small North Sea oil platform in suburban Devon, or perhaps setting up for a private heavy metal festival #DadJokes.
A couple of scaffold quotes later, and we settled on a company that wasn’t the cheapest, but understood the assignment.
The challenge was keeping my neighbour’s access route open whilst somehow spanning over the garage side entrance without turning the whole thing into an unworkable giant metal obstacle course.


Well, would you look at that.
Actual scaffolding.
Not drawings. Not emails. Not planning applications.
Real scaffolding.
Three levels of it, no less.
For the first time in three years, the project existed somewhere other than spreadsheets and my imagination.

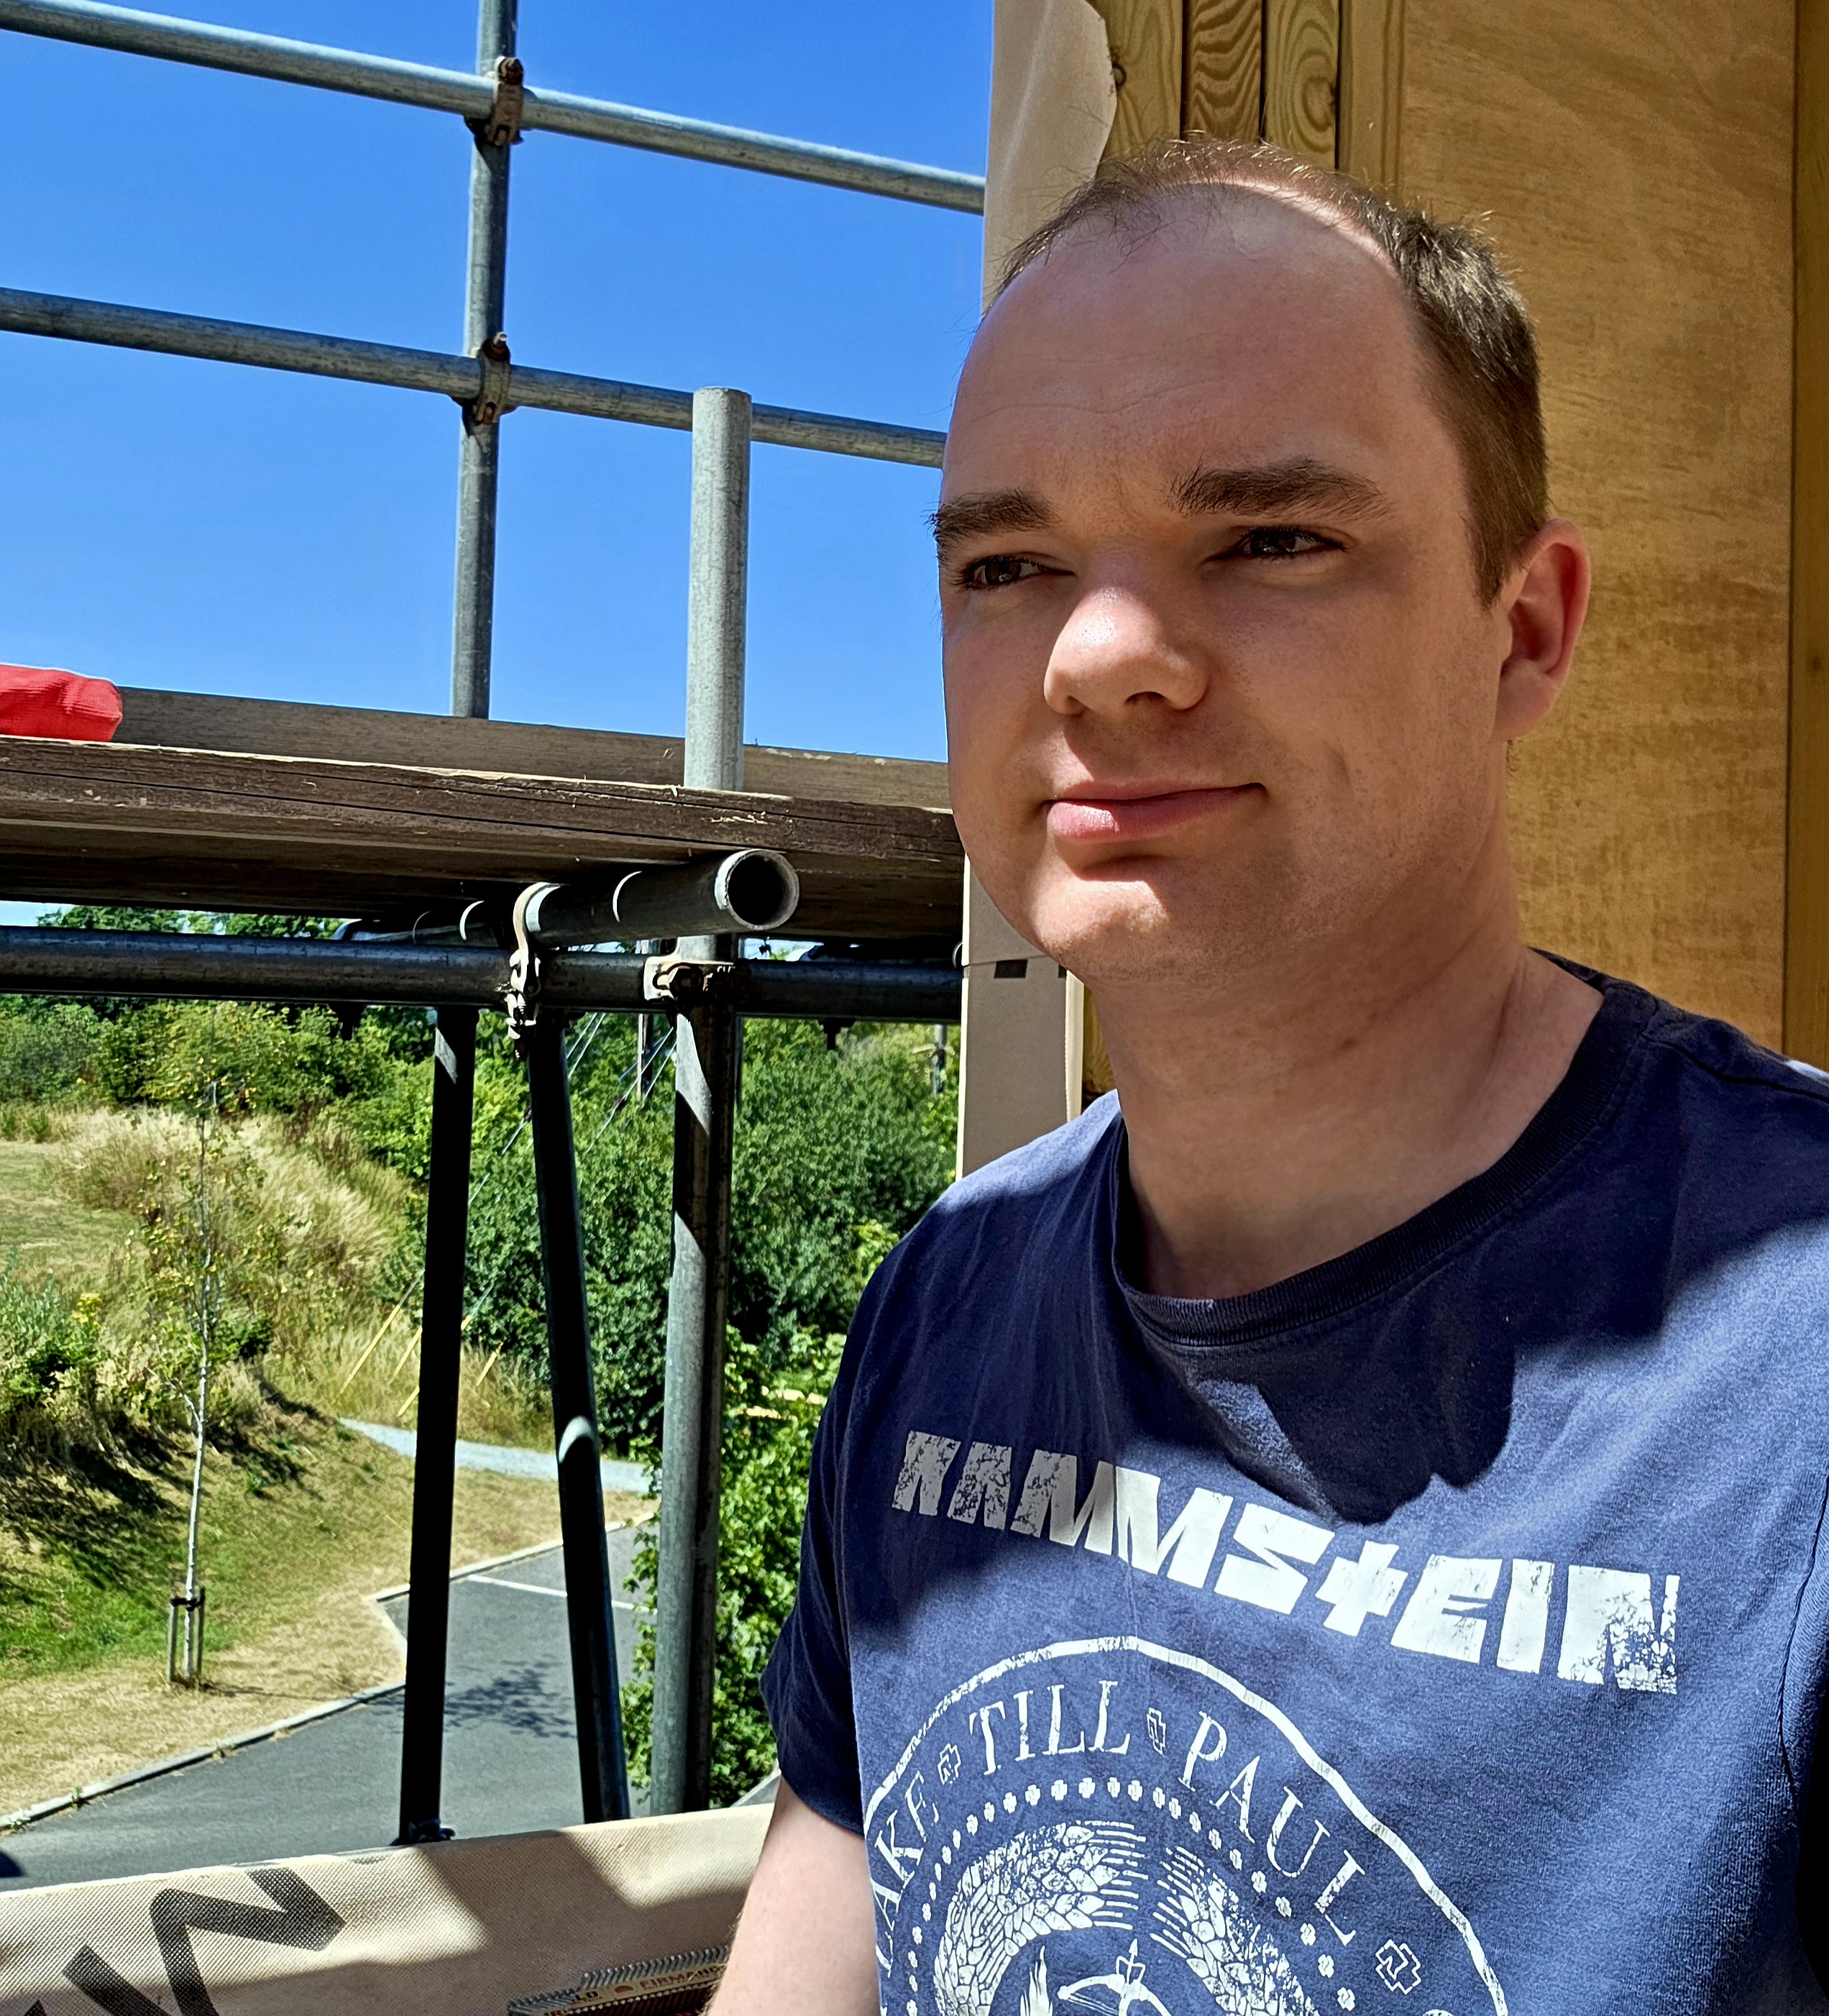
Look at those rolling hills… and if we’ve planned this right, this is the kind of view we should see from the windows of that new bedroom. Time will tell.


A bloody good coat of ronseal first, before the shed would be installed and pieced together by Dad and his power tool collection…
Yep. I am aware the grass needed cutting.

Technically all of this happened over the course of several weeks rather than just 1. The shed base took a fortnight or so to build up. The shed was ronsealed in a day, and built on a different day (in between deluges of traditional British Spring rain).
Emptying the garage took about 2-3 full weeks between several people (me, Emma and Dad etc). Bit-by-bit, items needed to be reviewed for keep, sell or throw value, and a new home somehow found for the keepers. When you add in the regular frequency high levels of pain my trigeminal neuropathy was giving me, it became frustrating that I couldn’t help progress this more.
Boarding the loft took/is taking a long time as it now falls down the list of priorities, but we’ve got a good central walkway in already. My friend Joe helped us put in a solid platform before he erm… buggered off and flew to Australia (that’s a thing that happened).
The garage door came off.
What a sentence to write. I stuck a note on it and managed to get it shifted within a day, surprisingly. It is dented and I just didn’t have the energy to care about trying to sell it properly on facebook marketplace with the constant “Is this still available?”, and we had about 2 days left to remove it before the scaffolders arrived.
Seeing the garage door come out felt oddly strange. I’d parked in front of it for years without thinking about it. Now it was gone, and there was no going back.
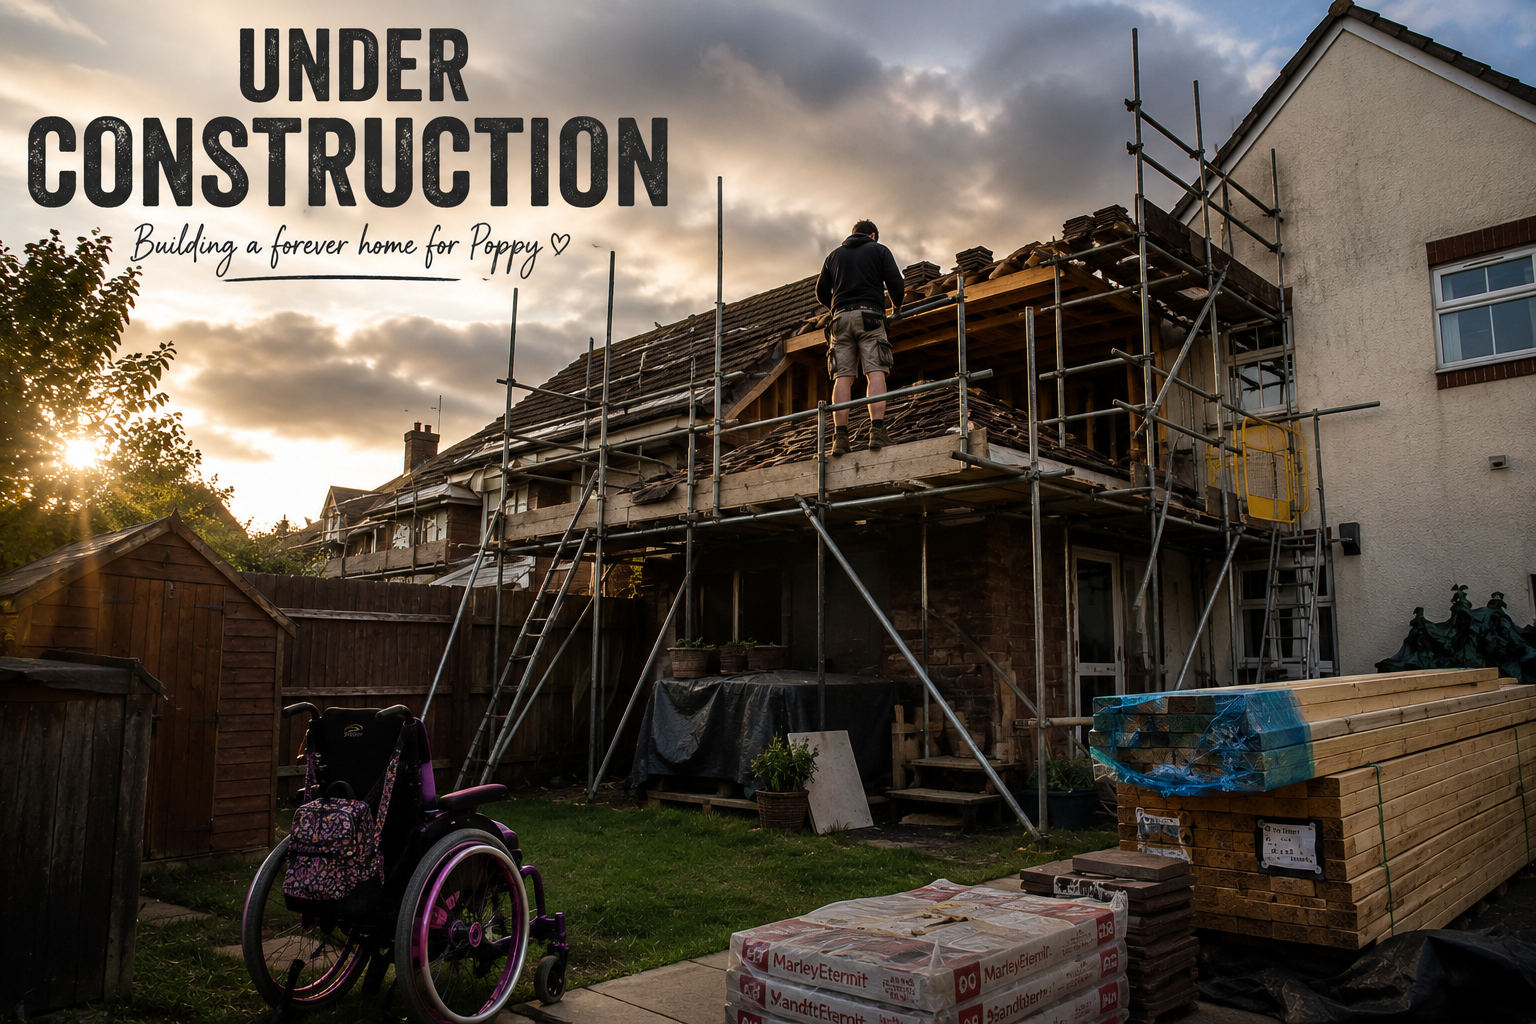
Then, finally, the week before the full build officially began… Up went the full scale scaffolding. Things had finally reached the point of build commencing.
The preliminary preparation was complete.
It’s still hard to believe that all of this scaffolding, dust, skips and disappearing money will eventually become a bedroom and accessible space for Poppy.
Right now it mostly just looks like organised chaos.
But for the first time, the project feels real.
…Ronseal.
****
Over the coming months, I’ll be documenting how we’re transforming our family home into a space that works for our disabled daughter, and the challenges that come with raising them.
The scaffolding is up.
The garage is gone.
The adventure is only just getting started.
If you’d like to follow along, enter your email below and I’ll send new updates straight to your inbox. I don’t spam them every day.
‘Til next time!





Leave a Reply